CLEANING THE INSIDE GLASS OF A i800 SCANMAKER SCANNER © victor m maldonado What you'll need is a 3/16th allen wrench (hex head wrench), #2 phillip screwdriver, non-alcoholic cleaning solution (I use Zeiss Lens Cleaner), clean 100% soft cotton rag like an old t-shirt
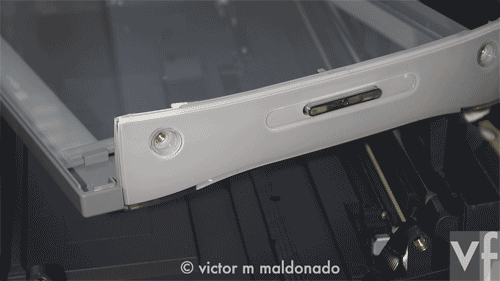
WARNING! — Before attempting any cleaning first & foremost unplug the scanner from any power supply or wall socket. Disconnect all the cables from unit like firewire, usb2, etc. Lift the scanner lid to a 90 degree angle (perpendicular to the scanning surface) & lift it up to remove it from the scanner base
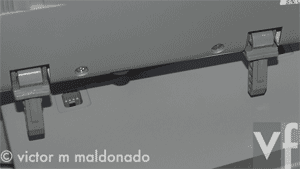
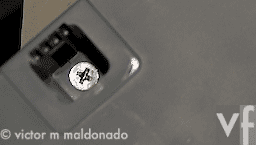
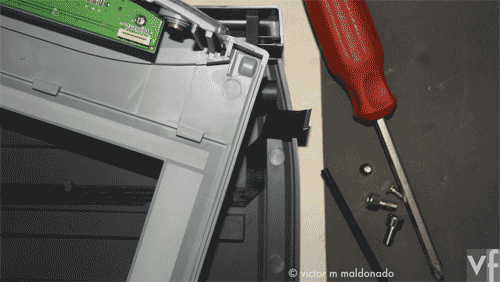
Remove the inside screws located inside the socket, one per side, total of 2 screws
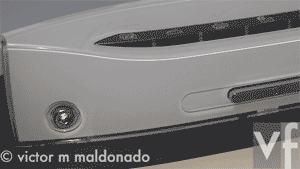
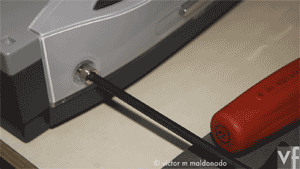
Remove the front 2 allen screws with a 3/16th allen wrench (3/16th hex head wrench)
Carefully & gently lift the rear of the scanner top by about 1 inch & then very gently wiggle the front of the scanner top until it is off of the base. The left front of the lid popped off first on my unit & then with a little prodding the right side popped off where the ribbon is located
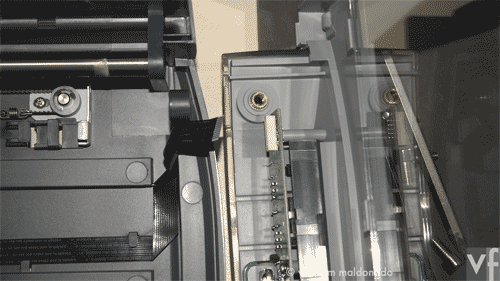
Be careful not to damage the ribbon which was attached to the base Clean with a non-alcoholic lens cleaning fluid & a clean & soft 100% cotton t-shirt I used canned air to blow out any lint or dust remaining inside the case & inside glass before reassembling
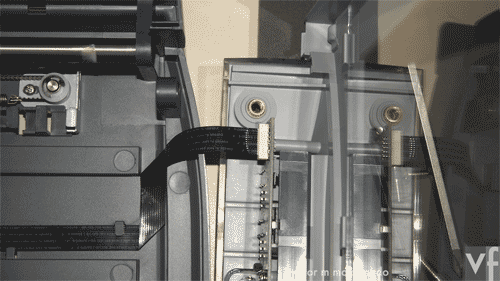
Reconnect the ribbon to the top panel located on front
Gently replace the top of the base to the bottom of the base This is it you are now finished The unit is now hermetically sealed for your scanning pleasure for anne s panda 84 :) :) :) :) :) :) :) — victor m maldonado :) |
|---|